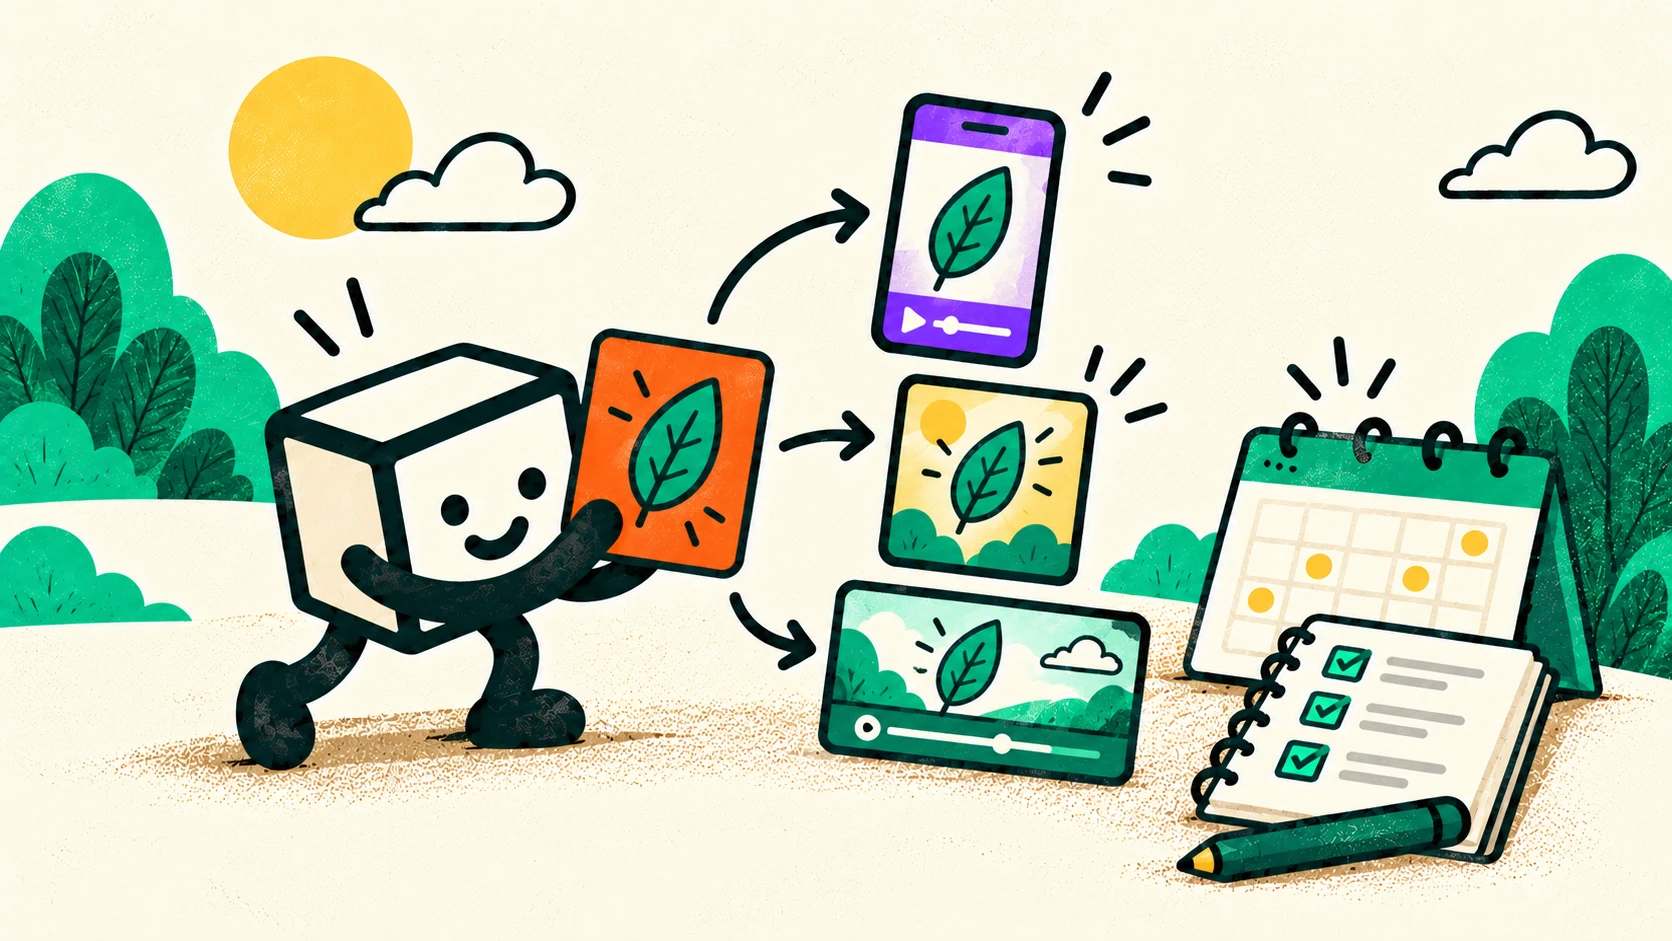
Social publishing needs a repeatable loop
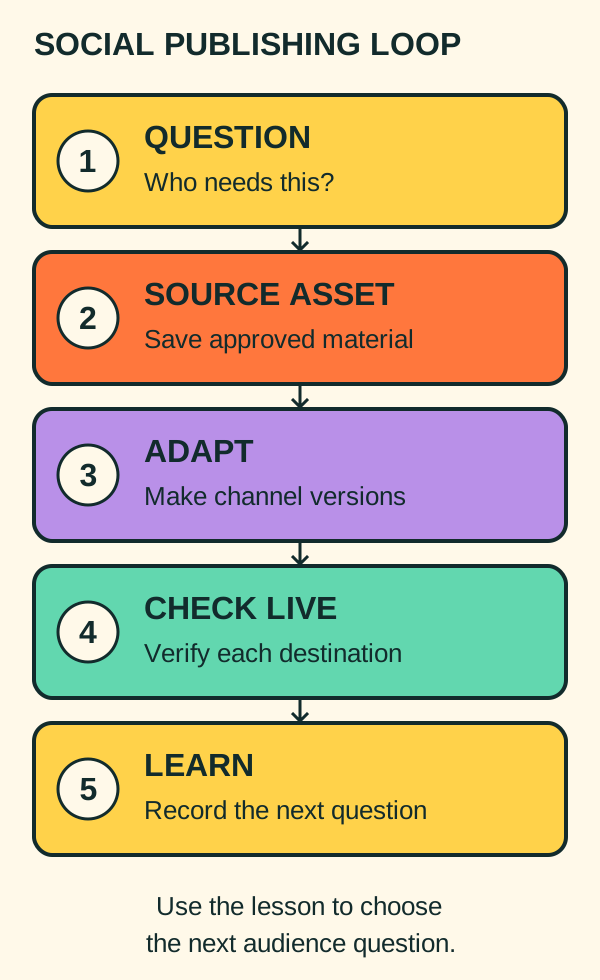
A social content workflow connects an audience question to a useful post, a verified publication, and a lesson for the next piece. It gives a small team a way to make consistent work across several channels while keeping the production load visible.
The challenge often appears when one person handles filming, editing, writing, scheduling, and replies. A calendar fills up, files spread across folders, and each platform asks for a slightly different version. The solution starts with a clear record of the idea and the work needed to publish it.
This guide explains a five-step loop: question, source asset, adaptation, publication check, learning. It applies to founders, service businesses, creators, and marketing teams. The workflow is our practical editorial recommendation. Platform features cited here were checked on October 13, 2026; confirm the options available to your account before committing a batch.
Choose a question your audience recognizes
Write down the person, their situation, and the thing they need to understand. “Explain our product” leaves many choices open. “Help a first-time workshop visitor choose what to bring” gives you a concrete lesson to teach.
Useful questions come from customer conversations, support requests, sales calls, event feedback, and public communities. Read the context and existing answers. Record the source privately when it contains personal details. Ask permission before publishing a customer's story or identifiable materials.
For a repair workshop, the question might be, “How can I tell whether this chair needs a repair?” For a software team, it might be, “How do I turn a messy export into a readable chart?” For an event organizer, it might be, “What will I learn at the introductory session?” Each can become educational content that helps someone discover the business through a useful answer.
Choose one primary audience and a small number of channels where you have evidence that those people spend time. State each channel's job. A short video might introduce the task. A professional feed post might explain a decision. A community answer might resolve a specific obstacle. These are planning choices to test, and their usefulness depends on the people you reach.
Make one source asset and one content record
A source asset is the clean, approved material from which you make the published versions. It could be a video demonstration, an original illustration, a short interview, or a written explanation. Keep the original recording, project file, and approved export so future changes can start from the source.
Give the idea a short identifier, such as chair-repair-check. Put the record in a shared document, board, or simple spreadsheet. It should contain:
- Audience question: what the piece helps someone understand.
- Core answer: the claim or process you will teach.
- Evidence: sources, product checks, and permissions needed.
- Source asset: the location of the approved material.
- Destination versions: the file and copy for each channel.
- Owner and reviewer: who makes it and who checks it.
- Publication details: account identity, time zone, planned date, and status.
- Live URL and lesson: where it appeared and what you learned.
Use plain status names: idea, making, review, ready, scheduled, live, checked. A post becomes “checked” after somebody opens the destination and verifies it. Keep a separate row or sub-record for each destination, because one platform can publish while another is still processing or has lost authorization.
For a solo operator, owner and reviewer may be the same person. Separate the review moment from editing: return to the final version after a break and read it as a new viewer. For a team, appoint one person to decide whether the asset is ready, so conflicting feedback has a clear route to resolution.
Adapt the lesson for each destination
Repurposing means using an existing idea or asset in another piece of content. Preserve the accurate core answer while changing the presentation to suit the audience and viewing conditions.
Before making a version, decide four things:
- Opening: which sentence or visual makes the subject clear here?
- Example: what situation will this audience recognize?
- Format: what crop, length, image, or text treatment fits the destination?
- Next step: what can the person use or learn after viewing it?
Consider an illustrative repair-workshop example. The source is a demonstration of a loose chair joint. A vertical video can show the movement and explain when to ask for an assessment. An illustrated post can show the three observations to record before contacting the workshop. A longer professional post can explain how to document damage before a workplace furniture inspection. Every version draws on the same verified process, and each teaches a complete small lesson.
A software team can adapt a chart-cleaning demonstration into a short before-and-after video and a written explanation of the columns needed. An event organizer can turn a speaker's explanation into a preview clip and a checklist of what participants should prepare. Label these examples as planning examples in your own work; they do not establish a promised result.
Keep important subjects and captions inside the visible area of each crop. Preview the post on a phone, where platform controls may cover the edges. Check that a person can follow the idea with sound off and that narration remains clear when sound is on. A caption copied across channels still needs a review for context, link behavior, and length.
Plan a batch you can finish
A batch is a group of related production tasks completed together. Filming three demonstrations in one session can simplify setup. Reviewing a set of captions together can reveal repetition and missing context.
Measure the time for your first small batch. Include research, approvals, recording, editing, adaptation, upload checks, and replies. Use that total to choose a cadence you can maintain. YouTube's own scheduling guidance asks creators to consider production time, cost, goals, and sustainability, and suggests batching when it makes production easier.
YouTube: upload schedule tipsA first-party checklist for matching publishing frequency to production capacity and audience expectations.↗Here is a planning example for a small team with one substantial idea each week:
- Monday: choose the audience question, confirm evidence, and write the core answer.
- Tuesday: make the source asset and save the editable project.
- Wednesday: adapt the chosen channel versions and review them.
- Thursday: schedule supported versions and complete any manual publishing steps.
- Friday: verify destinations, respond to questions, and record a lesson.
These days are a starting arrangement, not a rule. A topical announcement may need a faster path. An interview may require a longer approval window. A monthly event may supply several related questions at once. Keep a small buffer of approved durable posts and leave space for timely work. If a batch regularly overruns, reduce its size or revise the production process using the measured bottleneck.
Use scheduling with a manual exception list
A scheduler submits a prepared post at a chosen time. Native scheduling lives inside the platform; an external scheduler connects to platform accounts. Both still require the right identity, supported post type, and a review of the finished publication.
LinkedIn currently allows Page super admins and content admins to schedule supported posts from an hour ahead to three months ahead. Its Page documentation lists exceptions including events, multiple photos, reshares, polls, jobs, and service posts. Those limits are a reason to check the intended format before preparing the whole batch.
LinkedIn: schedule a Page postCheck Page roles, scheduling windows and unsupported post types before planning publication.↗YouTube also offers a scheduled publication setting during upload. Its upload documentation explains that processing and visibility are separate steps. Build those steps into the record: uploaded, processing, scheduled or public, and checked.
YouTube: upload videosUse the visibility and processing guidance to distinguish a completed upload from a publicly available video.↗Keep a manual exception list for any version whose required features your chosen tool cannot provide. This might include a particular native effect, an account-specific feature, or a format that needs an in-app review. Test the feature in your actual account. Assign an owner and a time, so “manual” remains a planned task.
Check the time zone shown by the publishing tool. Before submitting, confirm the brand account and destination. After an uncertain result, inspect the scheduled queue and live page before trying again. An expired connection or missing success message can leave a post's state unclear, and a second submission can create a duplicate.
Test video quality with a controlled comparison
A recent public question from a videographer asked whether scheduling across platforms affects quality and how much adaptation each version needs. Replies offered conflicting explanations. The useful general lesson is to test the actual file, tool, and destination you intend to use.
Keep a clean approved export as the source for uploads. Confirm the destination's current requirements. For example, YouTube recommends an MP4 container with H.264 video and provides guidance on frame rate, audio, resolution, and aspect ratio. Those recommendations belong to YouTube; check each other destination separately.
YouTube: recommended encoding settingsA concrete reference for preparing an upload, including codec, frame rate and aspect ratio.↗If you suspect a tool is changing quality, run a small test with owned material. Where private or limited-visibility tests are supported, use them. Compare the same export uploaded through the native route and the scheduler, with the same destination and playback settings. Wait for processing to finish. Examine fine details, motion, captions, crop, and audio on the device your audience will use.
YouTube's playback guidance says displayed quality can vary with connection speed, player size, the original upload, and browser support. Account for those factors before attributing a visible difference to the scheduler.
YouTube: playback qualityExplains viewing conditions that can affect a quality comparison.↗Record the export settings and result. If the versions differ, you have a specific issue to investigate with the tool or platform. A general claim about every scheduler would need broader evidence.
Close the loop after publication
Open every live destination. Check the active identity, copy, image or video, caption timing, audio, links, and intended visibility. Watch the full video. Capture the live URL in the content record. A successful upload notification alone leaves several of those checks unfinished.
Then make time for participation. Answer the questions people ask, correct any material error, and record language that could improve a future explanation. Community participation also requires reading the local rules and being candid about your brand relationship.
Review performance against each channel's job. Reach can indicate distribution. Viewing and response patterns can help you investigate whether the lesson was understandable. Relevant questions can reveal a missing explanation. Visits to a linked resource can show a next action. These signals have different scopes; they do not individually establish that a post caused new customers or lasting brand awareness.
Keep production time beside those observations. A format that attracts useful responses but consumes the whole week may need a simpler version. A low-response post may need a clearer question, example, or destination. Write one concrete lesson, such as “viewers asked which file formats the demo accepts,” and carry it into the next content brief.
Start with one audience question, one source asset, and two destinations you can properly review. Complete the loop, measure the work it took, and use what you learn to choose the next batch.